How to make caravan curtains
After living in the caravan for a few months I’ve decided there is too much beige. I have beige curtains and seating, plus plenty of fake wood. I think if I update the curtains, it will offset the colour.
I haven’t touched a sewing machine in years – this will be an interesting project.
I’m currently house-sitting for a friend and she happens to have a sewing machine AND an overlocker, which will hopefully make the curtains look a little more professional.
There are 10 panels to make, 4 panels in the large front window, 2 sets to the sides and one set by the bed.
They are a clever design, with half semi transparent and half dense material. On extra sunny days I can shift the curtain over to block out direct sunlight, while still having enough light and a view. Then I can shift the netting over for a bit of privacy, good for when someone in the campground can see directly in. One of the disadvantages of the caravan is no external boundary. I’ve had someone stand at my window and peer in while I was reading.
I also have roller blinds that are perfect at night for extra privacy. From outside, when they are down, it’s actually hard to tell if my lights are on.
Curtain Fabric Hunting

I went to Spotlight for the fabric, as they are the main chain in New Zealand.
My initial plan was to have pure white fabric to lighten up the interior and offset the fake wood and beige seat fabric. Looking around, I fell in love with a patterned fabric that has a white background, hand-drawn lines and patches of gold. It happens to remind me of the TravellingK logo! Talking to the staff, I realised this wasn’t actually the curtain fabric area, but for the size of the curtains, this material will be fine to use.
The fabric is Lines Buzoku Cotton Duck.
Asking for help finding the netting fabric, the staff weren’t sure what it was. They suggested sheer fabric and found one that was already the right height and had the heading tape attached. Heading tape is where the hooks are inserted to attach to the curtain railing. Perfect for speeding the project along.
The netting is Regal Continuous Sheer 91cm.
Luckily, there was a sale on when I visited, with 20% and 30% off fabric.
Overall this project cost NZ$102.50. This included the two fabrics, scissors, cotton, pins and heading tape.
Sewing the Caravan Curtains
Each panel is 1m wide. 2/3 is the sheer netting and 1/3 is the patterned fabric.
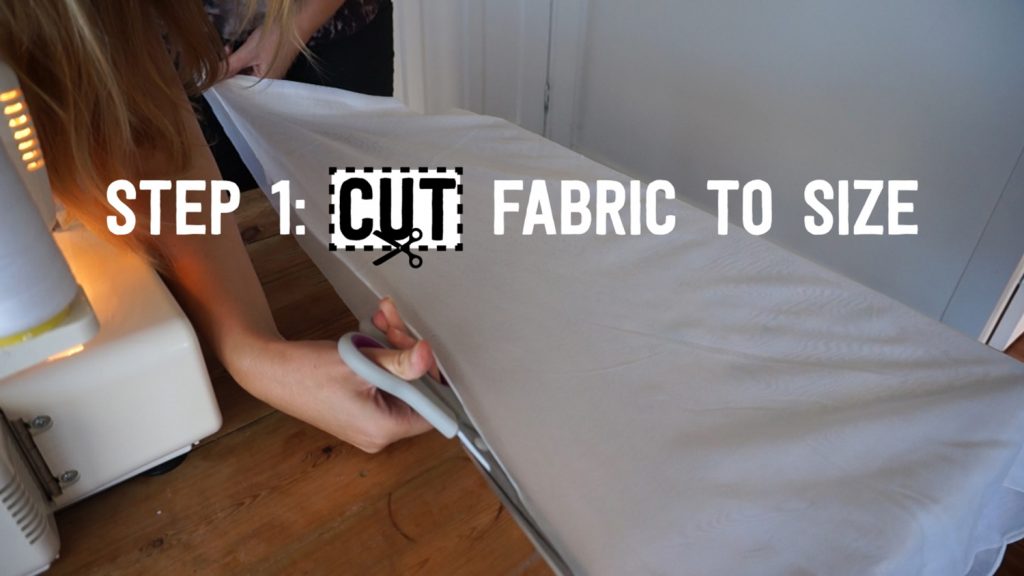
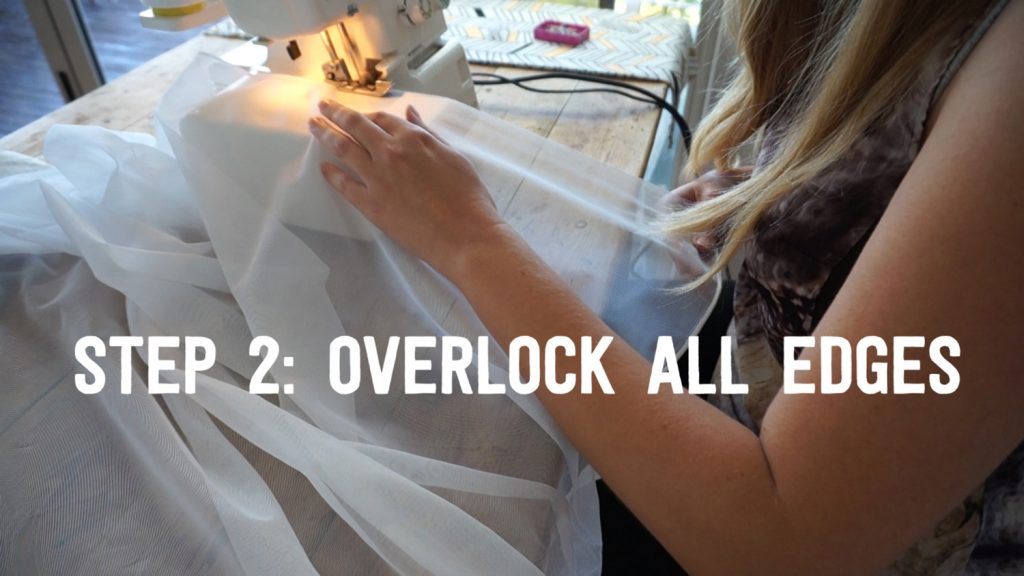
Cut to size and overlock edges
With the fabric, I was able to cut into 3 panels for each meter. The netting was cut into one panel per meter. Once cut, overlock all edges of both the netting and fabric.
This is the first time I’ve used an overlocker and I am now tempted to buy one in the far future. It definitely creates a professional finish.
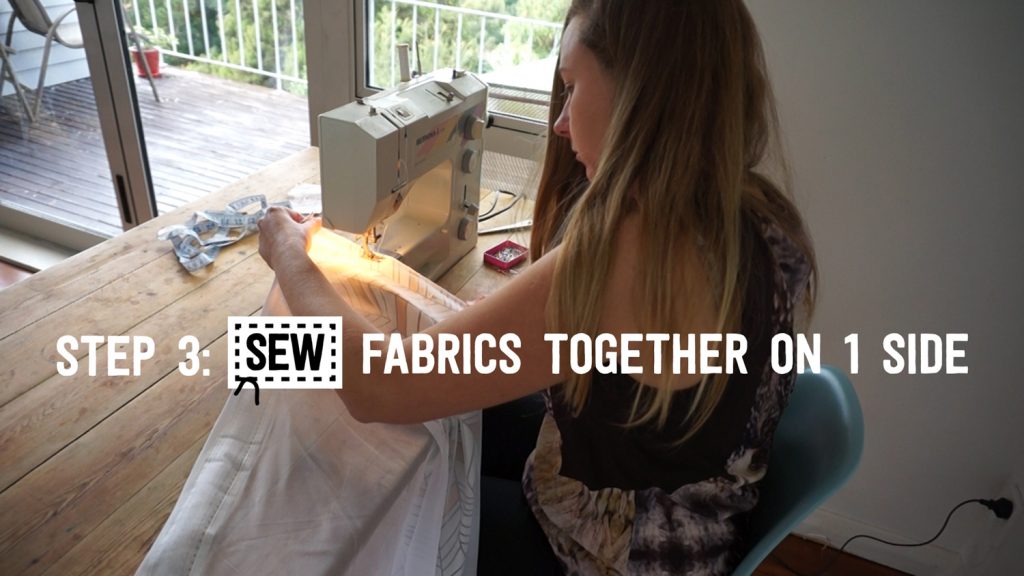
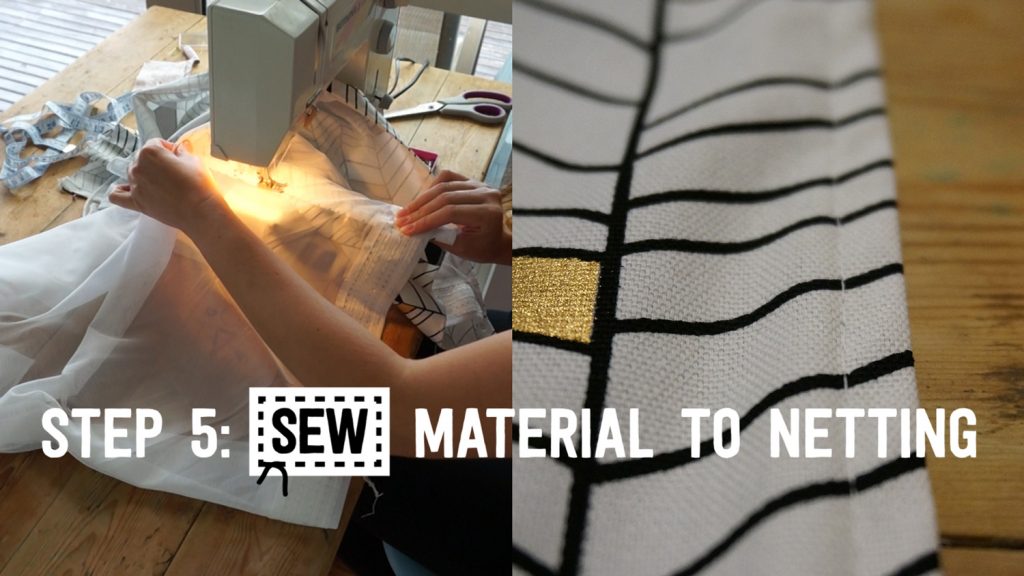
Sew one edge together
Sew the netting and patterned fabric together down one edge – making sure the front facing sides are on the inside.
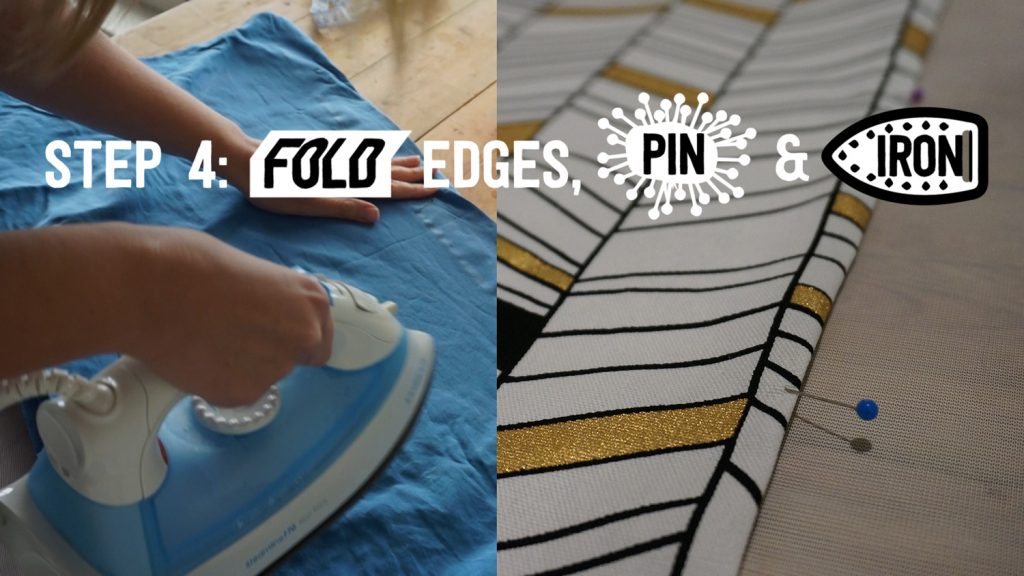
Fold, iron and sew fabric to netting
Turn fabric right way round and pin the edges of patterned fabric, ready to iron flat. Also pin fabric to the netting.
Once ironed, sew down both of the patterned fabric vertical edges, attaching it to the netting.
It was a little tricky sewing the middle of the netting, and I accidentally sewed the fabric together a couple of times. Luckily unpicking the stitches was a simple matter.
Fold and sew last netting edge
Fold the vertical netting edge over 1cm and sew. This will help it sit better.

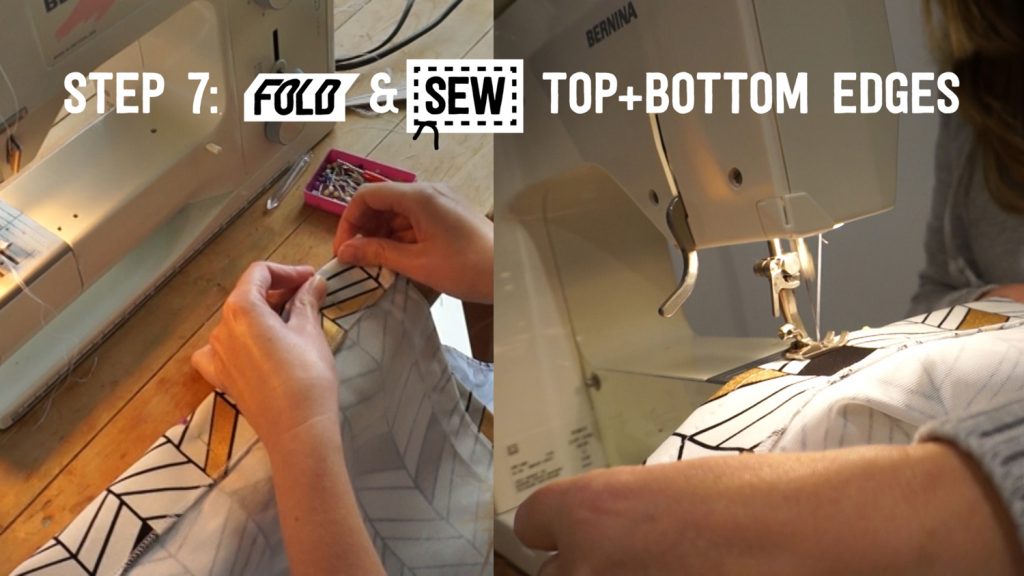
Fold, pin, iron and sew top & bottom fabric edges
Fold the patterned fabric over the netting at the top and bottom, then pin. There should only be 1cm of fabric to fold over the top, so it doesn’t get in the way of the heading tape. Once ironed, sew along the top and bottom.
I left extra fabric at the bottom and took the excess material off with the overlocker at this stage.
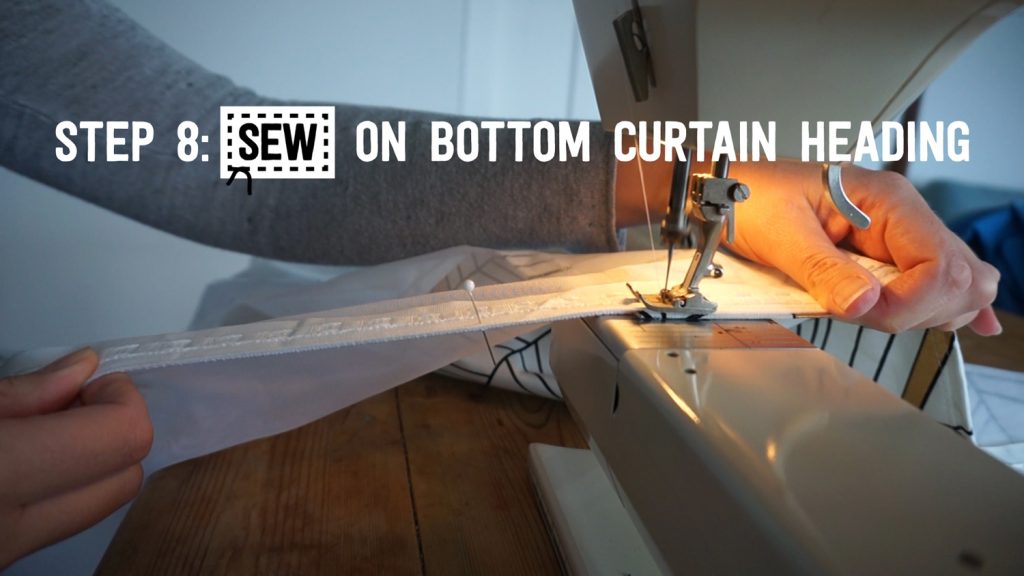
Attach curtain heading tape to bottom
For the 4 panels in the large front window, sew curtain heading tape along the bottom. There is a curtain railing at the top and bottom of these windows, as they are on an angle.
I left 2 of the panels completely sheer, because they are for the very thin windows and I don’t think the fabric is needed.
I bought 1-pocket 30mm white tape.
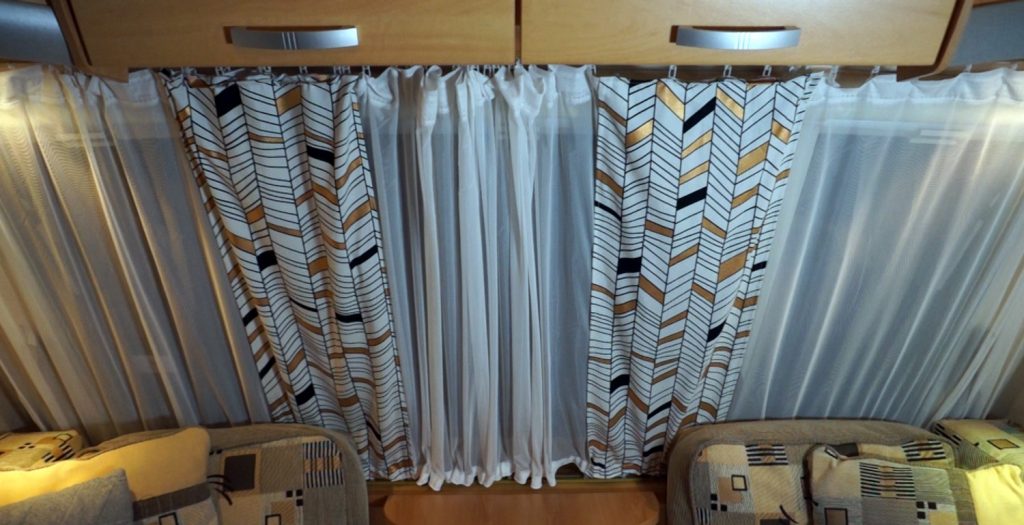
Hanging up the caravan curtains
It took me 4 full days to make these caravan curtains. Once I started a production line and made all the similar sections together, it became faster.
When I took down 3 curtains to measure, I muddled them up and didn’t realise that the ones for the side windows are shorter than the ones in the large front window. The new curtains in the side windows are longer than the original, but that’s easy to change. Then it was a struggle hanging the curtains up in the large window as they were nearly too short!
Overall, I’m really happy with how they turned out. See more in the video above.
Do you have any tips for caravan curtain making? Have you tried before? I would love to hear about it in the comments below.