How I make YouTube videos | TravellingK 2 years old
Two years ago, I started TravellingK. I bought my domain name and published my first WordPress article. Where has the time gone? To celebrate the occasion I thought I’d explain how I make my videos.
When I first started, I focused more on general travel. I’d spent 6 years living overseas and had made the most of that time by exploring as many countries as possible. Eventually I made my way back to New Zealand.
5 months into the TravellingK blog I bought my caravan and started writing purely about my caravan experience. That’s when I started feeling like I was on the right track. I still have a long way to go, but I’m slowly getting there. What I’ve learnt is you really do need a niche topic.
I’m a graphic designer and use the Adobe programs all day long. At the start they were just the print or web design programs. One job required I start using Premier and After Effects to help when the media designer was off sick. I even went on an 8 week Adobe Premier course and have kept learning.
I’d started with a few travel videos where I was firmly behind the camera – just lots of pretty travel footage.
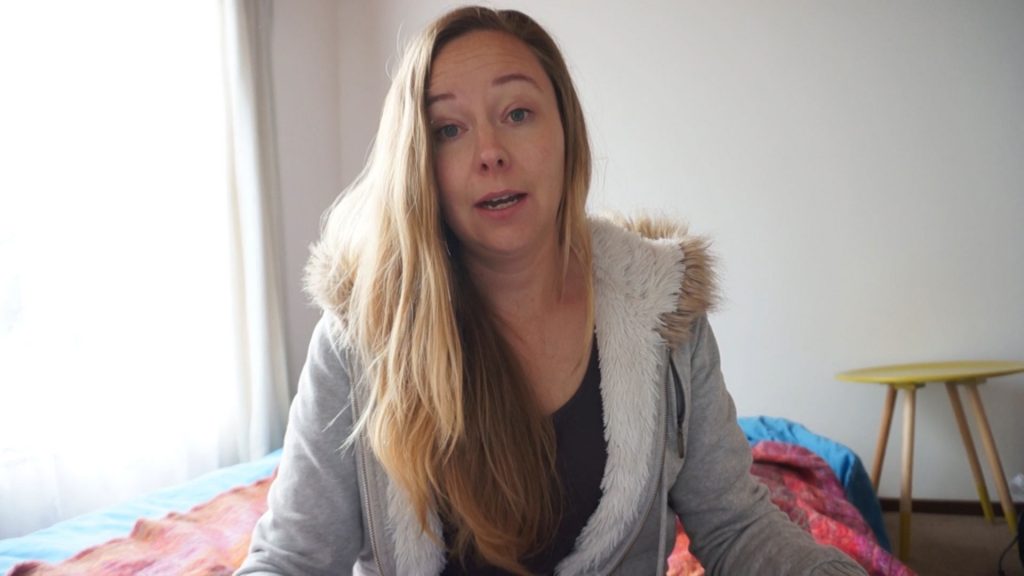
I don’t even remember why, but one week, I made my very first vlog. I felt so awkward and stiff, but got such a positive response that it motivated me to being in-front of the camera more often. Talking about my caravan experience means I really do need to be in the videos and it’s becoming easier with time.
**This post contains affiliate links and I will be compensated if you make a purchase after clicking on my links.
-
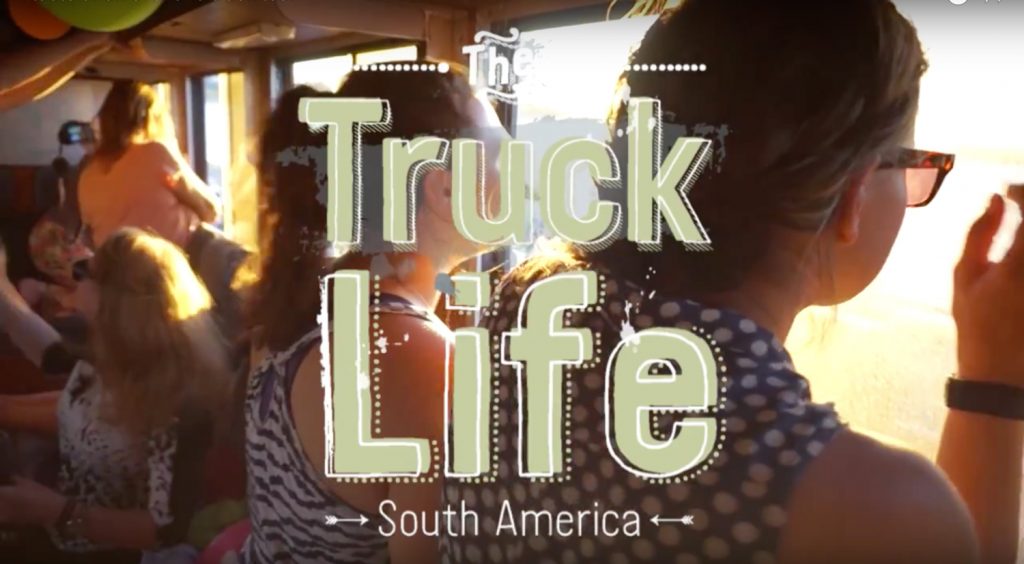
- Overseas Video
-
- First Vlog
What camera do I use?
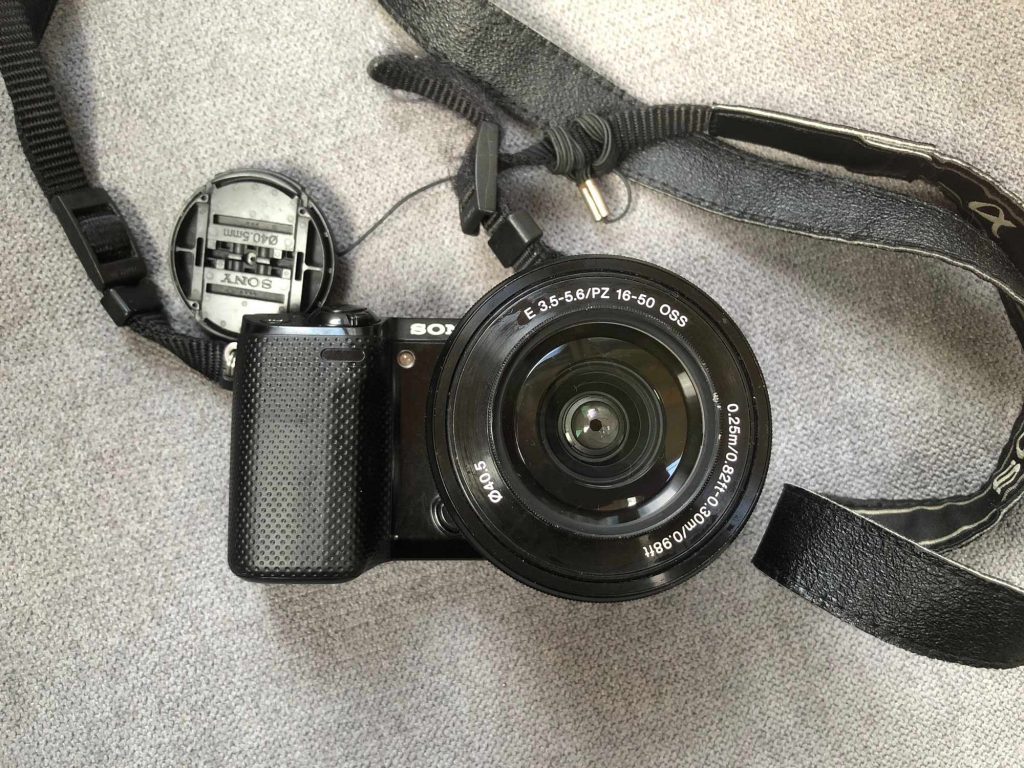
My main camera is about 5 years old now. It’s a Sony Nex 5R. The new version is the Sony Alpha a6500 and I’ll probably upgrade to it one day.
Best parts
- A perfect travel camera because it’s not too big meaning I always take it with me in my day bag. Now that cameras are digital, you don’t need a bulky camera body.
- You can change the lens. I have a small compact lens and a large zoom lens.
- You can take RAW photos which means your photo keeps the details of the shadows and white areas. With a bit of Photoshop tweaking you’ll end up with a professional looking photo. It took me a long time to realise the power of RAW.
- It’s fantastic for video. This is one of the main reasons why I upgraded my camera.
- The Sony Nex 5R has a back screen that flips all the way over which is perfect for filming yourself. Unfortunately the new Sony Alpha a6500 version doesn’t have this feature.
- The new version has the option of an external microphone which would be extremely handy for filming in windy locations.
I also have a Go Pro camera. I initially bought it for underwater filming after getting my diving certificate. I’ve found it really handy for filming while I drive. I have it attached to my window and can turn it to show the road or myself.
Other accessories
- Rode smartLav+ Lavalier Microphone for better audio on windy days. It records into my smart phone which means I can talk to the camera while standing far away. The down side is it takes more time editing as you need to sink up the audio with the footage.
- Viltron LED Light. It’s small enough to easily keep in the caravan. Sometimes it’s so light outside the caravan I end up silhouetted. I don’t use it all the time, only if there’s a problem when I’m sitting and talking for a long time to the camera.
- Gorilla Tripod. It’s small and perfect for putting in a day bag while exploring. You can use it as a mini tripod to angle the camera correctly or wrap it around a tree branch. I also use it like a selfie stick! Make sure to get the larger sized version that can handle the weight of your camera.
- Nest Tripod. I originally bought the cheapest tripod I could find which fell apart pretty quickly. I then went for this Nest Tripod. It’s been perfect for filming in the caravan.
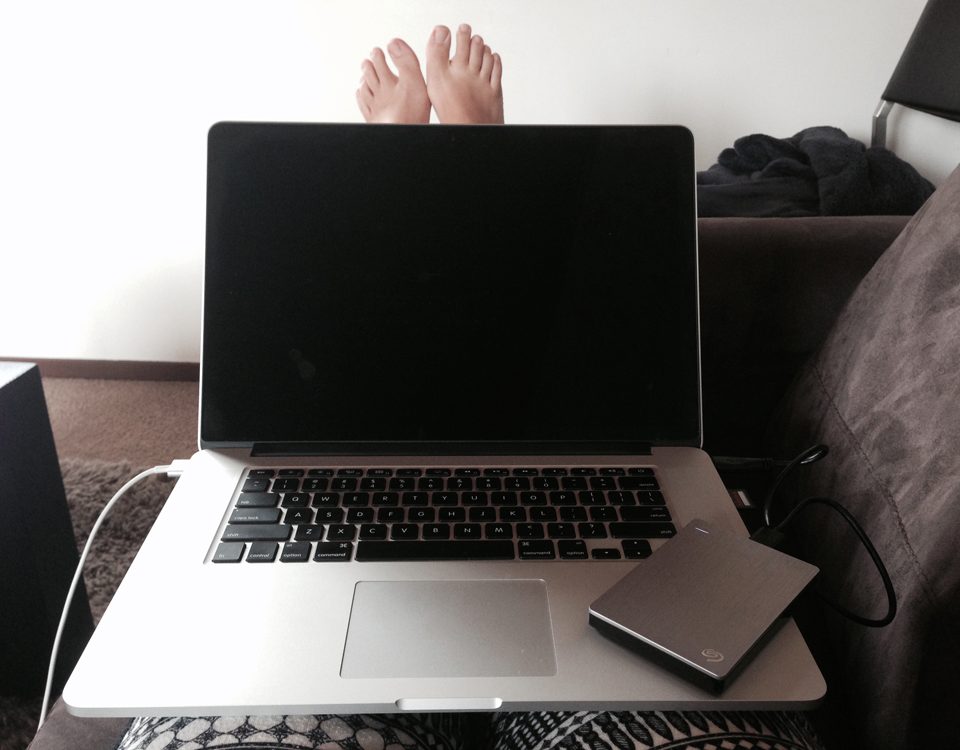
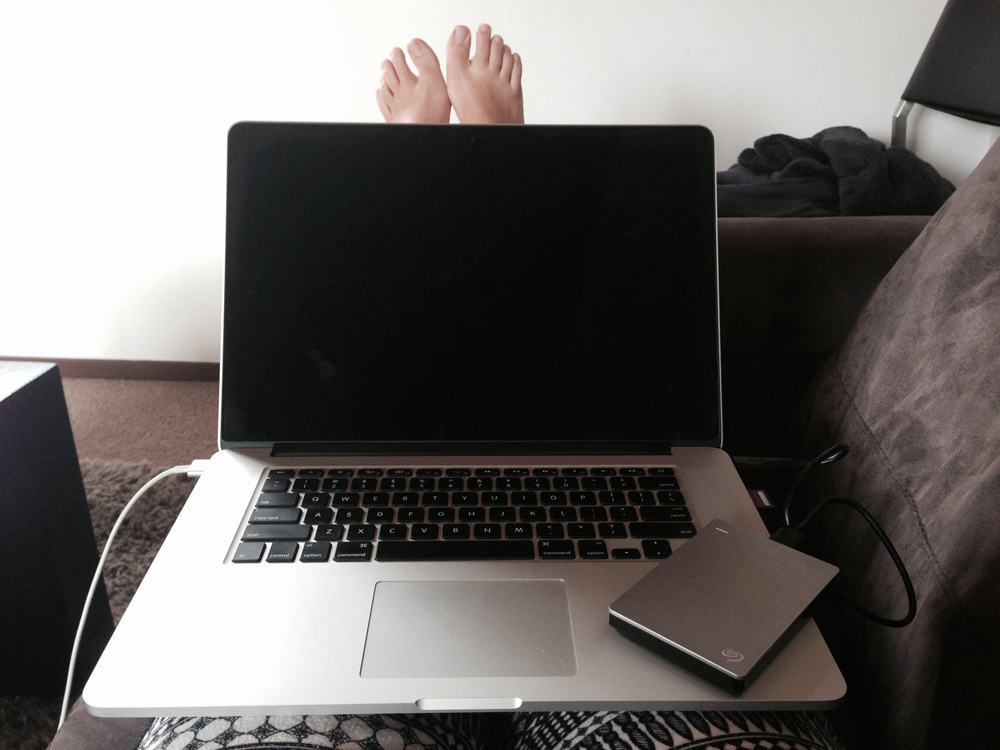
Adobe Premier
How do I edit my videos?
This is an extremely simplified overview. I’ve realised I could end up with a very long article if I went into great depth.
My steps
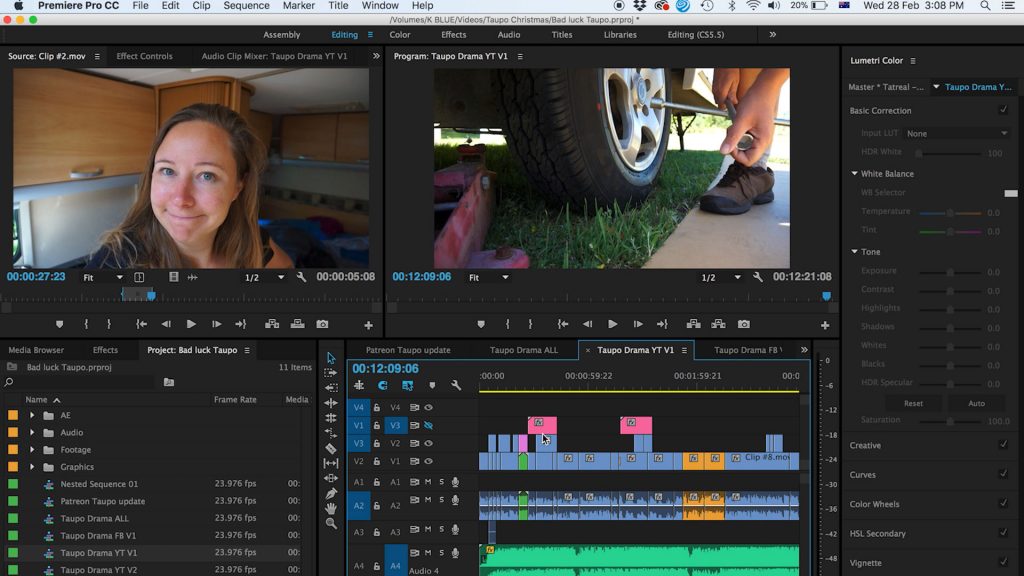
- I use the program Adobe Premier.
- I make folders: Footage, Audio, After Effects and Graphics.
- I load all my footage and start trimming and adding all usable footage into a sequence I call ‘ALL’.
- I then duplicate the sequence and call it ‘YT V1’. This is when I edit, delete and rearrange the footage into an order that makes the video into a watchable story. When I film, I regularly say the same thing a couple of times, as it’s only when I’m editing that I’ll realise my mistake with wording or that I’m out of focus.
- I add the title and end CTA. If there are still holes in the storyline, or I’ve made a mistake, I add After Effects copy on top.
- I add music from Envato to play quietly in the background. This really helps the video come alive.
- After exporting and uploading to YouTube, I make a thumbnail with Photoshop and Illustrator. Then add a description, tags, end frame and cards.
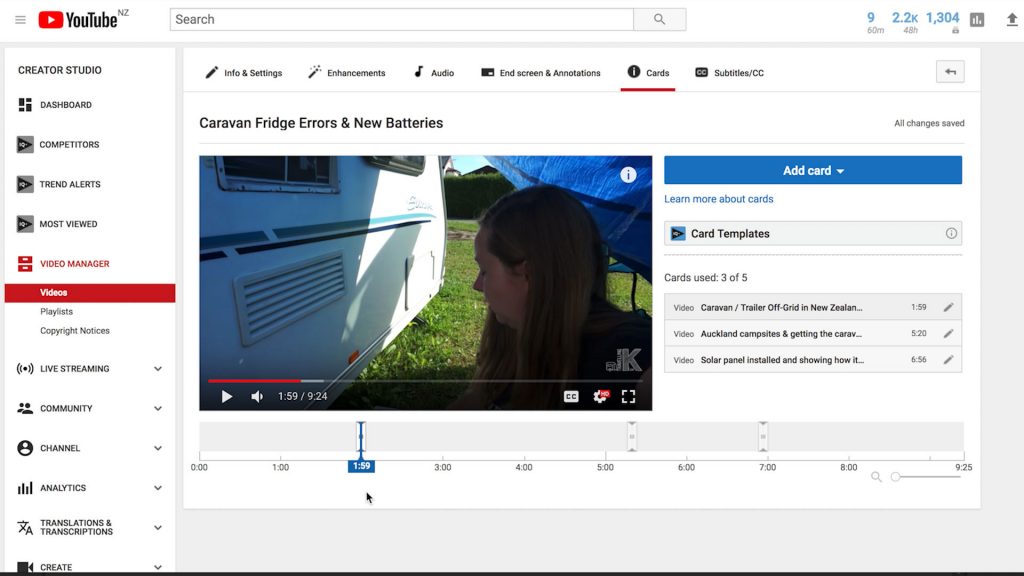
Back end of YouTube
Top tips
- Use Envato for music. Once a month they have a free audio file and regularly have sales.
- Layer the footage on top of each other. When you are talking about a topic, show that footage at the same time.
- Be brutal with editing. Try to cut out as much as possible to keep peoples attention.
How long does it take?
- 1-3 days filming. Although my fridge errors video was over a couple of months filming whenever there was a problem.
- About 2-4 hours with initial cutting for ‘ALL’ sequence.
- About 2-4 hours to create the rough storyline.
- About 2-3 hours adding copy and audio and trimming video clips to be as tight as possible.
- About 1-2 hours uploading to YouTube, making a thumbnail, adding descriptions, end frames and cards. Then linking to my website or uploading to Patreon.
What are my blogging steps?
There is a lot more that goes on behind the scenes. Here are some of the other parts:
- Make the YouTube video.
- Write a blog post with video included.
- Share on Facebook. Sometimes I’ll modify the video to work better on Facebook. I also try to publish/share something relevant 3 times a week.
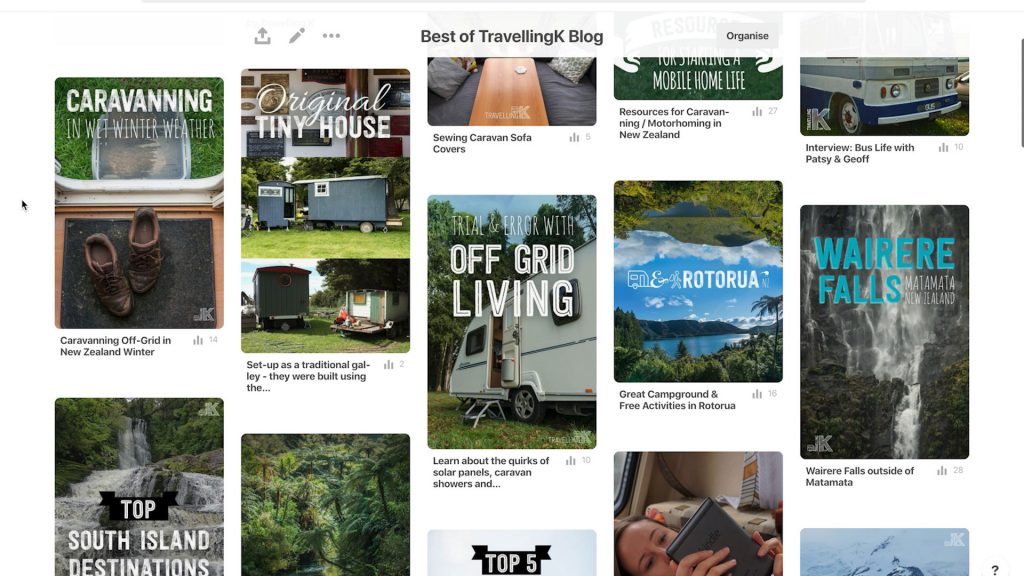
- Sometimes make a pin for Pinterest.
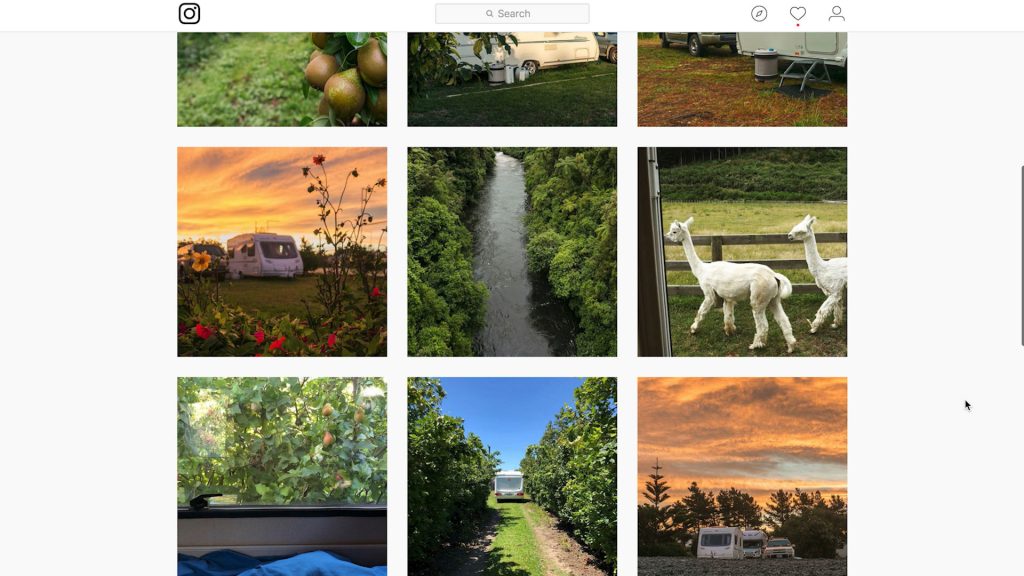
- Post 3 Instagram pictures a week.
- Send out a newsletter once a month (this is something I’ve been behind on).
- Answer comments on YouTube, Facebook, website and email.
How have I made my website?
I use WordPress. It’s a free and popular online tool for making websites.
My hosting company is Biztactix. They are good. A little tricker to get in contact with as there’s only a US landline number but they’ve always solved my problems. There is also a great online library of technical information.
To make the website look slick, I use a theme bought through Envato. Look up ThemeForest and search under WordPress. Some themes are more restrictive than others so make sure you like the navigation and set-up of pages. Adding logos and changing colours are usually the easy part.
I hope you’ve found this overview helpful? Is this what you imagined? I’d love to hear in the comments below.

